Payment Link Guide
Add a payment link to your invitations using PayBox
A simple 5-step guide to create a payment link in the PayBox app and add it to your invitations.
Why add a payment link to your invitation?
Guests can send a monetary gift with one click directly from the invitation
Money goes straight to your PayBox account - no cash, no checks
Convenient for guests who can't attend or want to send a gift in advance
5 steps to create a payment link
Go to Groups tab
Open the PayBox app and go to the 'Groups' tab. Tap the + button to create a new group.

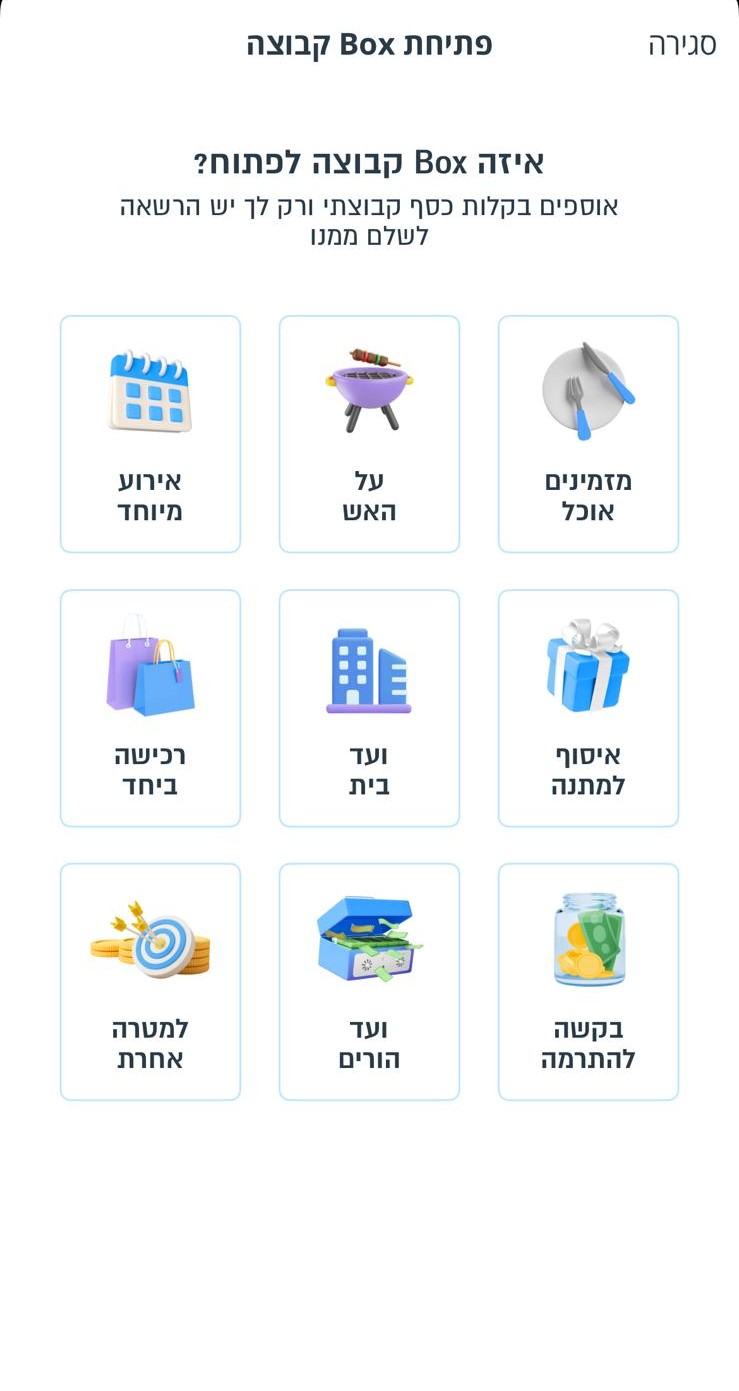
Select group purpose
Select the main purpose of your group - in our case, this can be 'Wedding' or 'Event'.
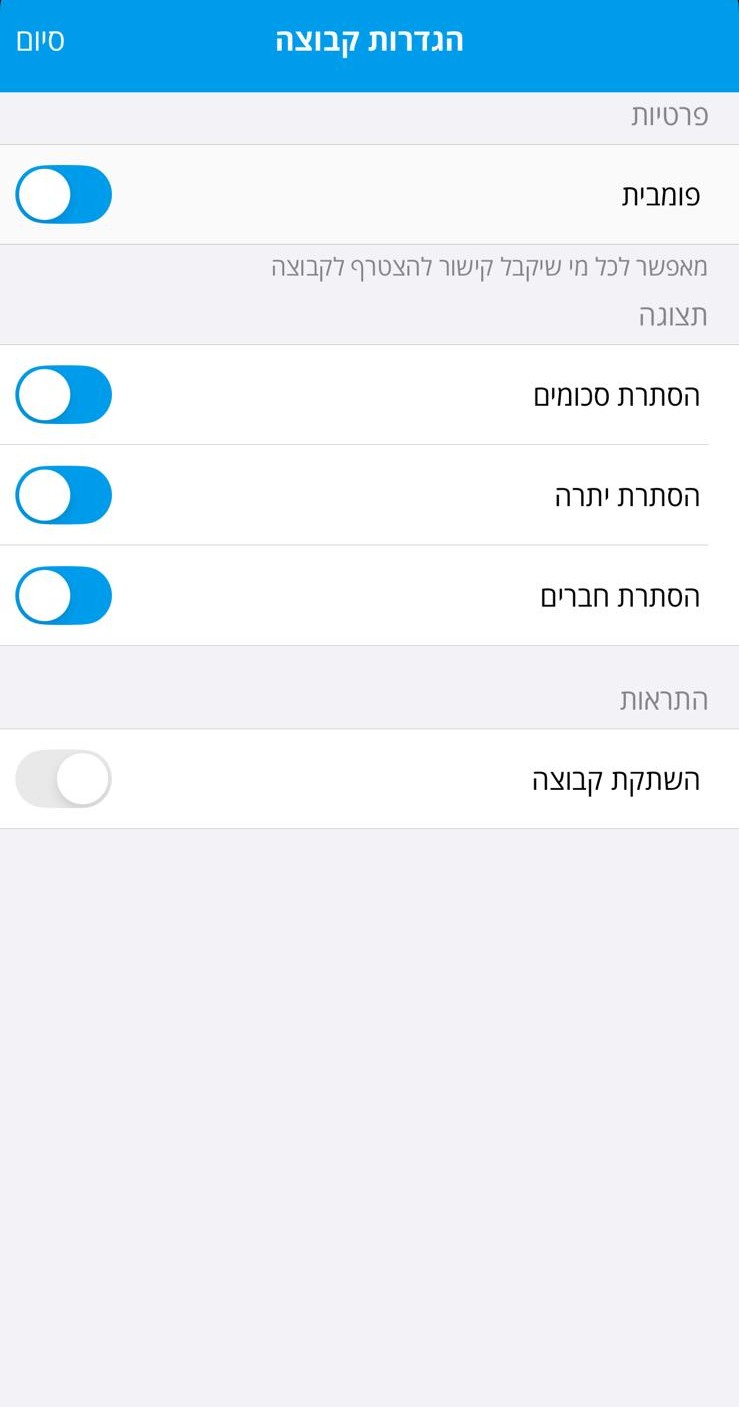
Group settings
Set up your group name, whether members can see each other, and whether the gift amounts are visible. In the next step, select 'Unlimited' for the amount per member. No need to select members for the group - the link is open to everyone.
Tip: Choose 'Unlimited' to allow guests to send any amount they wish.


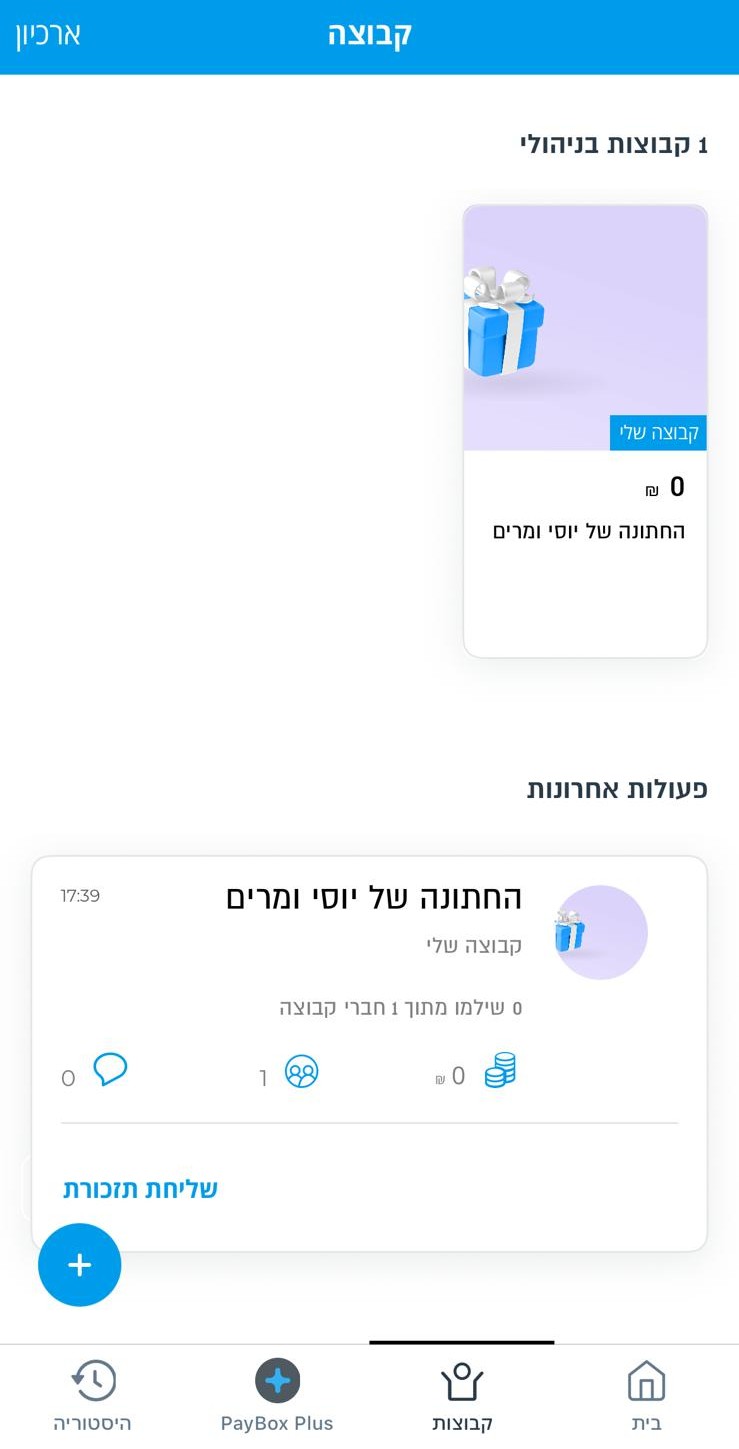
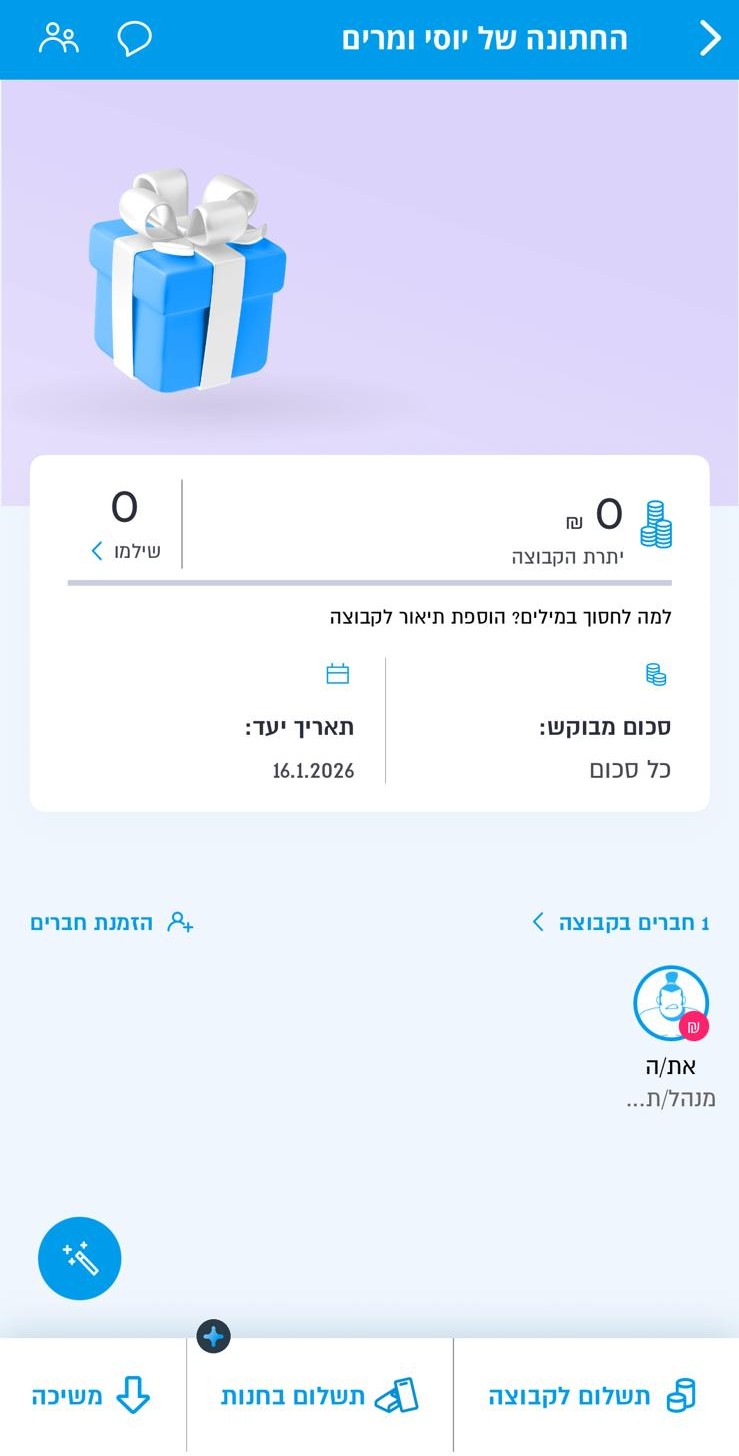
Group created
After creating the group, it will appear in your groups list.
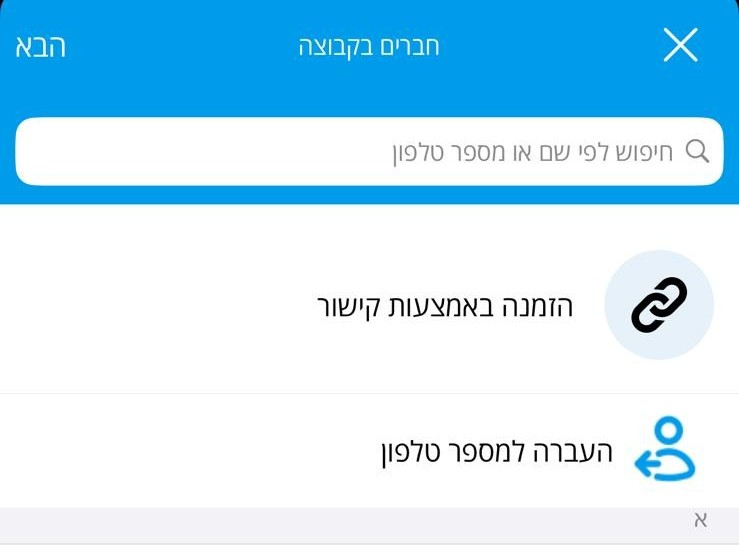
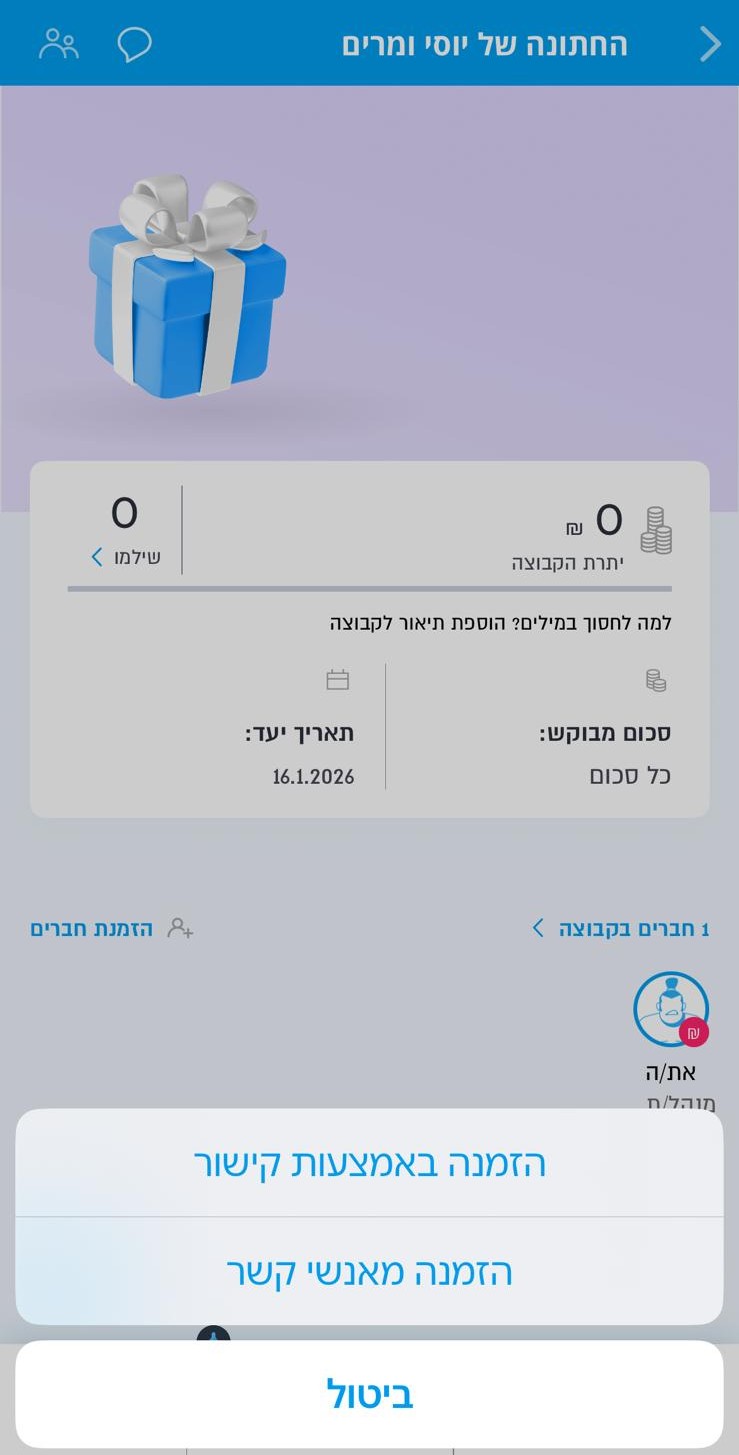
Get the sharing link
Tap on the group settings to access the group's sharing link. Copy the link.
Add the link to your invitation
Great! Now you have a payment link ready.
Go to invitation settings on Easy Events and paste the link in the 'Payment Link' field. The link will appear in the invitation you send to guests.